By: Team AY1920S1-CS2103T-F12-1 Since: Sept 2019 Licence: MIT
1. Introduction
Horo is a command-line interface scheduling application. It helps the user maintain a to-do list and a calendar, and posts timely reminders on their desktop. This User Guide provides documentation of Horo's functionalities. Users may refer to this guide as a reference for what the application can do, as well as the commands that Horo will accept.
2. Quick Start
-
Ensure you have Java
11or above installed in your Computer. -
Download the latest
horo.jarhere. -
Copy the file to the folder you want to use as the home folder for Horo.
-
Double-click the file to start the app. The GUI should appear in a few seconds.
-
It is prefable to change your
horo.jarlocation to an empty folder.
-
-
If double-clicking fails to start the app then do the following steps:
-
Open up Command Prompt
-
Change directory to your
horo.jarlocation saved location. -
Type
java -jar horo.jarand GUI should appear in a few seconds.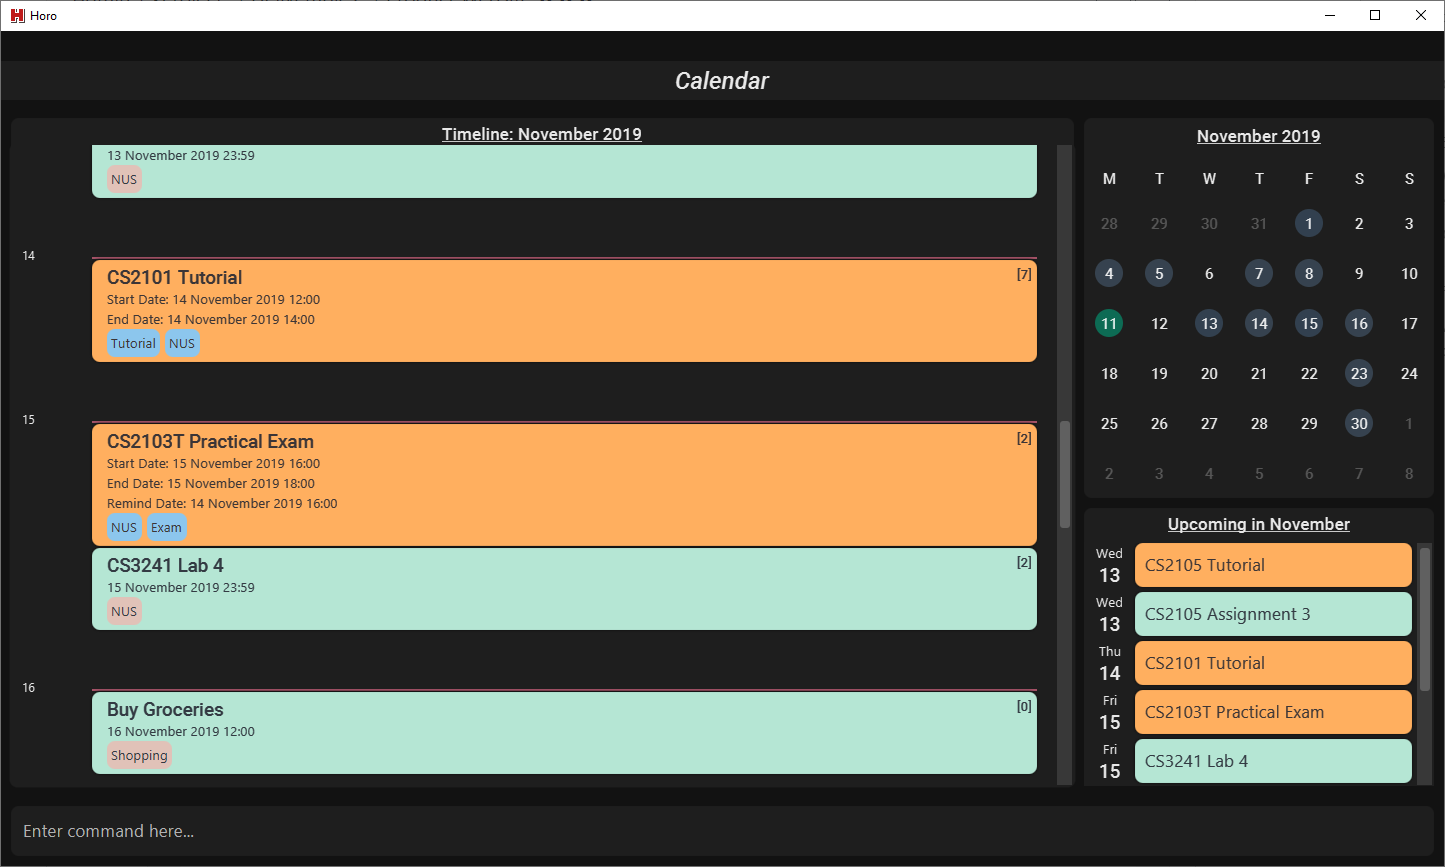 Figure 1. Startup Screen Shot of Horo
-
-
Type the command in the command box and press Enter to execute it.
-
Some example commands you can try:
-
add_task "Buy Groceries": adds a task to Horo. -
delete_task 0: deletes the first task in Horo. -
exit: exits Horo.
-
-
Refer to Section 3, “Features” for details of each command.
3. Features
Command Format for Horo
-
You can enter a command by typing the command name first followed by arguments of the command.
-
E.g.
command_name <argument1> <argument2>…
-
-
If you want to type an argument containing blank spaces, surround your sentence within quotation marks.
-
E.g.
"Buy Groceries" -
E.g.
add_task "Buy Groceries"
-
-
Command parameters are prefixed by
--, and they are optional.-
E.g.
--date 09/2019 -
E.g.
calendar --date 09/2019
-
-
Please take note that commands with extra arguments given are truncated.
-
E.g. The
calendarcommand does not accept any arguments, therefore if you entercalendar 09/2019,09/2019will be silently discarded.
-
Command Format for this User Guide
-
Arguments are fully capitalized which are to be supplied by you.
-
E.g.
add_task TASK
-
-
Arguments suffixed with ellipsis (
…) indicate that the argument can be entered zero or more times.-
E.g.
delete_task INDEX…
-
-
Parameters separated by a vertical bar
|can be used interchangeably.-
e.g. given the command format
-d|--description DESCRIPTION, the following inputs accomplish the same thing: -
--description "Buy Groceries" -
-d "Buy Groceries"
-
3.1. Asking for help : help [coming in v2.0]
Provides a guide if you ever need help with Horo’s commands and command formats.
Command Format:
help
3.2. Calendar, Events and Task
The following commands are related to Events and Tasks, which Horo recognises as different entities. Stated below are the differences between Events and Tasks:
-
Event:
-
Will show up on the Calendar.
-
Cannot be marked as done.
[coming in v2.0] -
Will be automatically removed from the Calendar past its due date, provided it is a non-recurring event.
-
-
Task
-
Will show up on the Calendar only if a due-date is specified. Otherwise it will be specified in the List.
-
Can be marked as done.
[coming in v2.0] -
If not accomplished by its due date, will be automatically archived into an undone list.
-
3.2.1. Adding Events
You may use the add_event command to add an event to the calendar.
Command Format:
Command Parameters:
-
--end END_DATE -
--remind REMIND_DATE -
--tag TAG…
Argument Format:
-
START_DATE:"DD/MM/YYYY HH:MM" -
END_DATE:"DD/MM/YYYY HH:MM" -
REMIND_DATE:"DD/MM/YYYY HH:MM"
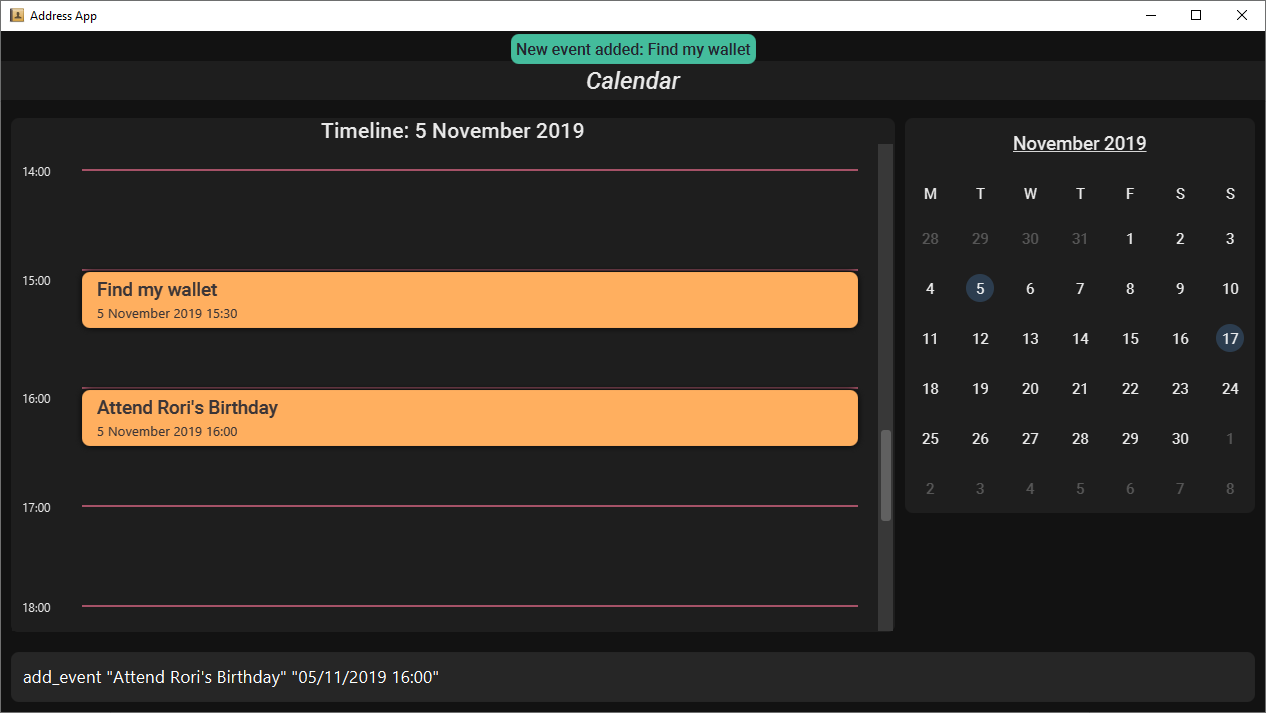
Examples:
-
add_event "Rori’s Birthday" "18/08/2019 16:00" -
add_event "Rori’s Birthday" "18/08/2019 16:00" --end "18/08/2019 20:00" -
add_event "Rori’s Birthday" "18/08/2019 16:00" --end "18/08/2019 20:00" --remind "18/08/2019 12:00" --tag Birthday Rori
|
|
3.2.2. Deleting Events

You may use the delete_event command to delete one or more events from the calendar.
Command Format:
Command Parameters:
-
--tag TAG…
Examples:
-
delete_event 0 -
delete_event 0 1 2: Deletes events 0, 1 and 2. -
delete_event --tag Birthday: Deletes events tagged asBirthday. -
delete_event --tag Birthday Rori: Deletes events tagged asBirthdayandRori. -
delete_event 0 1 2 --tag Birthday Rori: Deletes events 0, 1 and 2 only if they have been tagged asBirthdayandRori.

Figure 4. Index found on the top right of the event.
|
3.2.3. Editing Events
You may use the edit_event command to edit one or more existing events.
Command Format:
Command Parameters:
-
--description DESCRIPTION -
--start START_DATE -
--end END_DATE -
--remind REMIND_DATE -
--tag TAG…
Argument Format:
-
START_DATE:"DD/MM/YYYY HH:MM" -
END_DATE:"DD/MM/YYYY HH:MM" -
REMIND_DATE:"DD/MM/YYYY HH:MM"
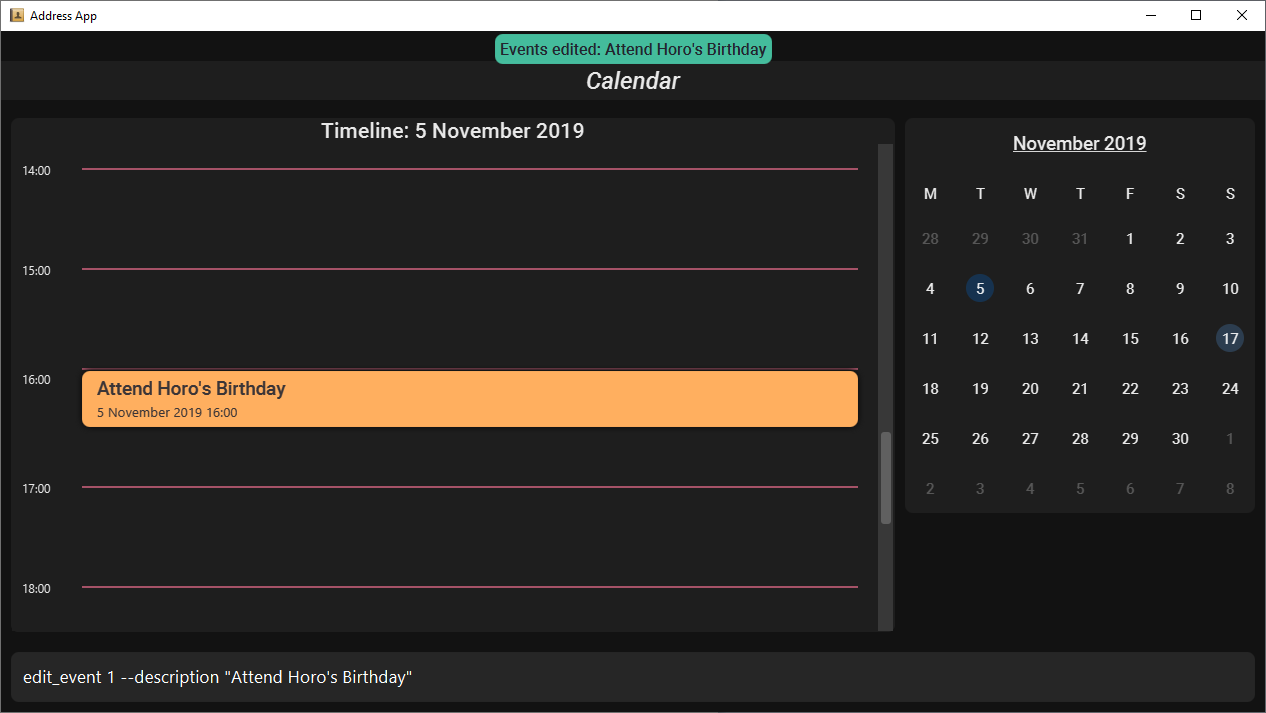
Examples:
-
edit_event 0 1 2 --tag Rori: Edits events 0, 1 and 2. -
edit_event 0 --description "Play Monster Hunter" --start "17/08/2019 19:00" --remind "17/08/2019 12:00" --tag Kyzure
|
3.2.4. Adding Tasks
You may use the add_task command to add a task to the to-do list.
Command Format:
Command Parameters:
-
--due DUE_DATE -
--tag TAG…
Argument Format:
-
DUE_DATE:"DD/MM/YYYY HH:MM"
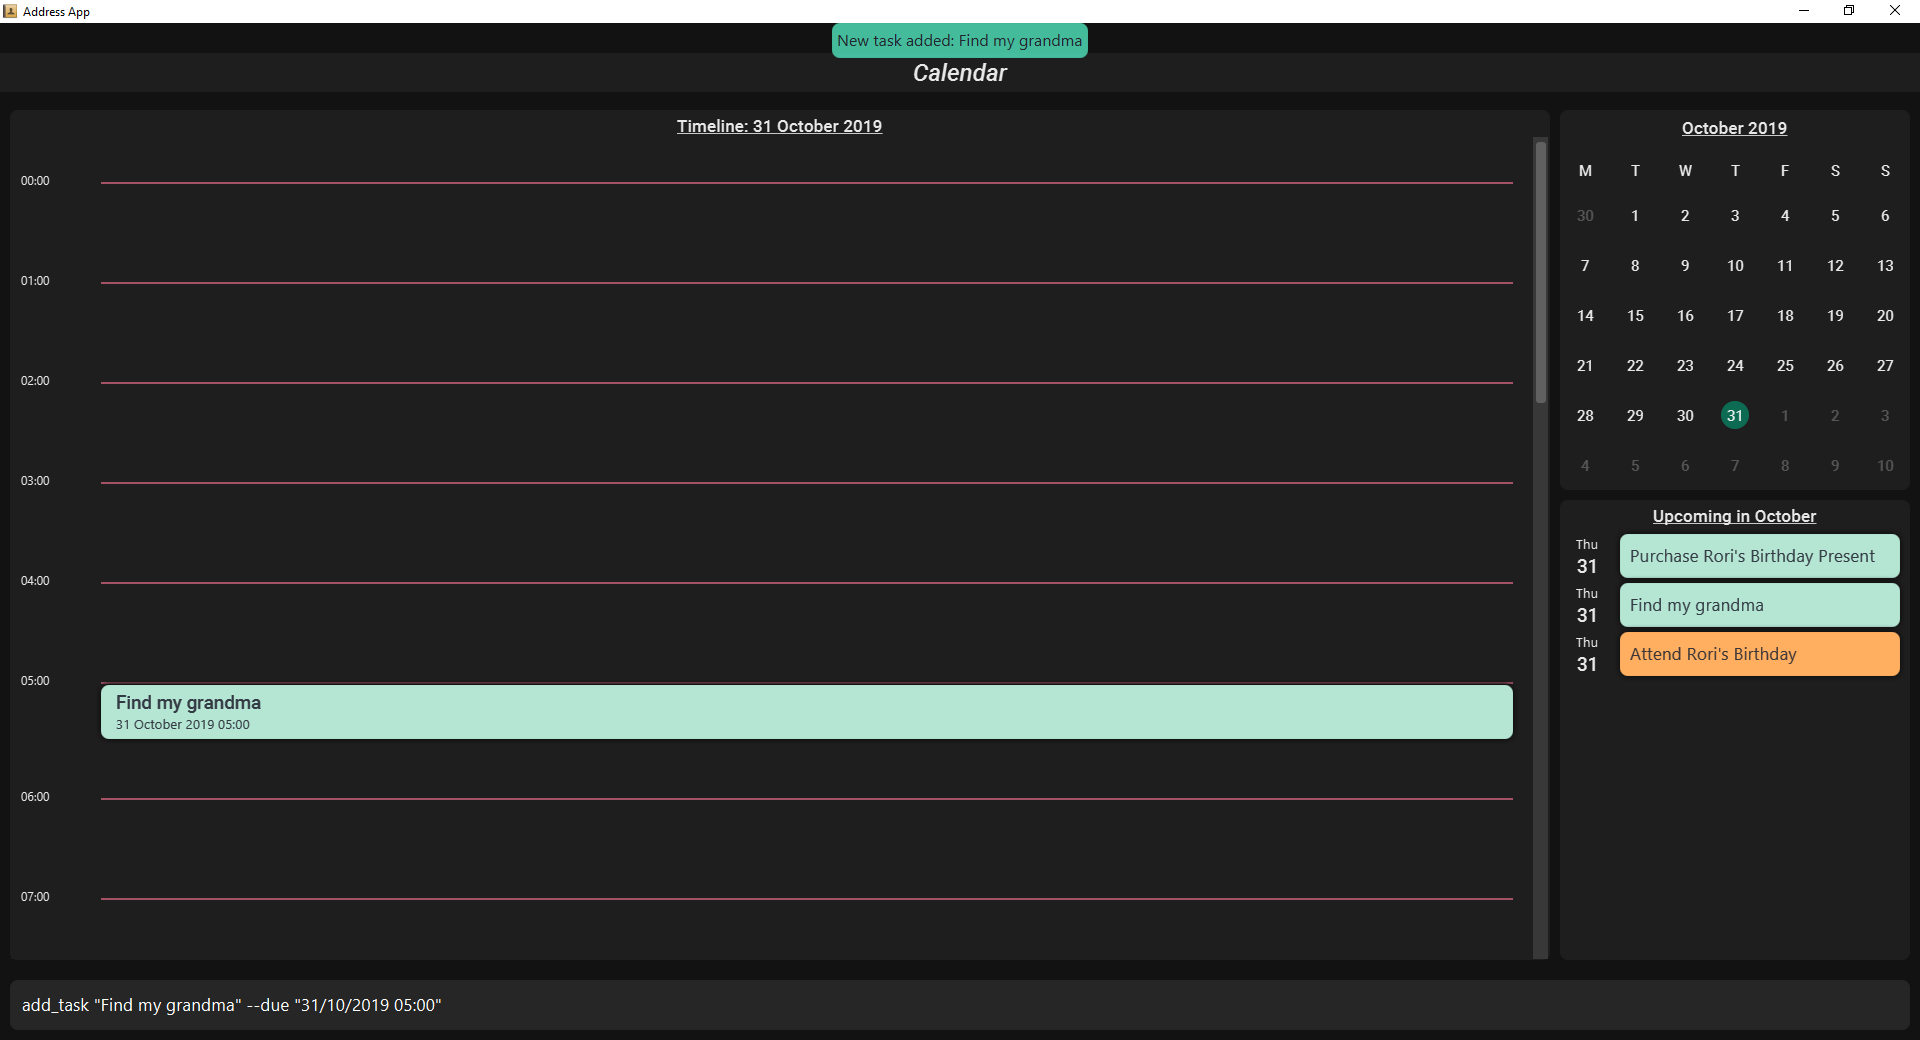
Examples:
-
add_task "Buy Rori a birthday cake" -
add_task "Buy Rori a birthday cake" --due "18/08/2019 12:00" -
add_task "Buy Rori a birthday cake" --tag "Birthday Rori"
3.2.5. Deleting Tasks
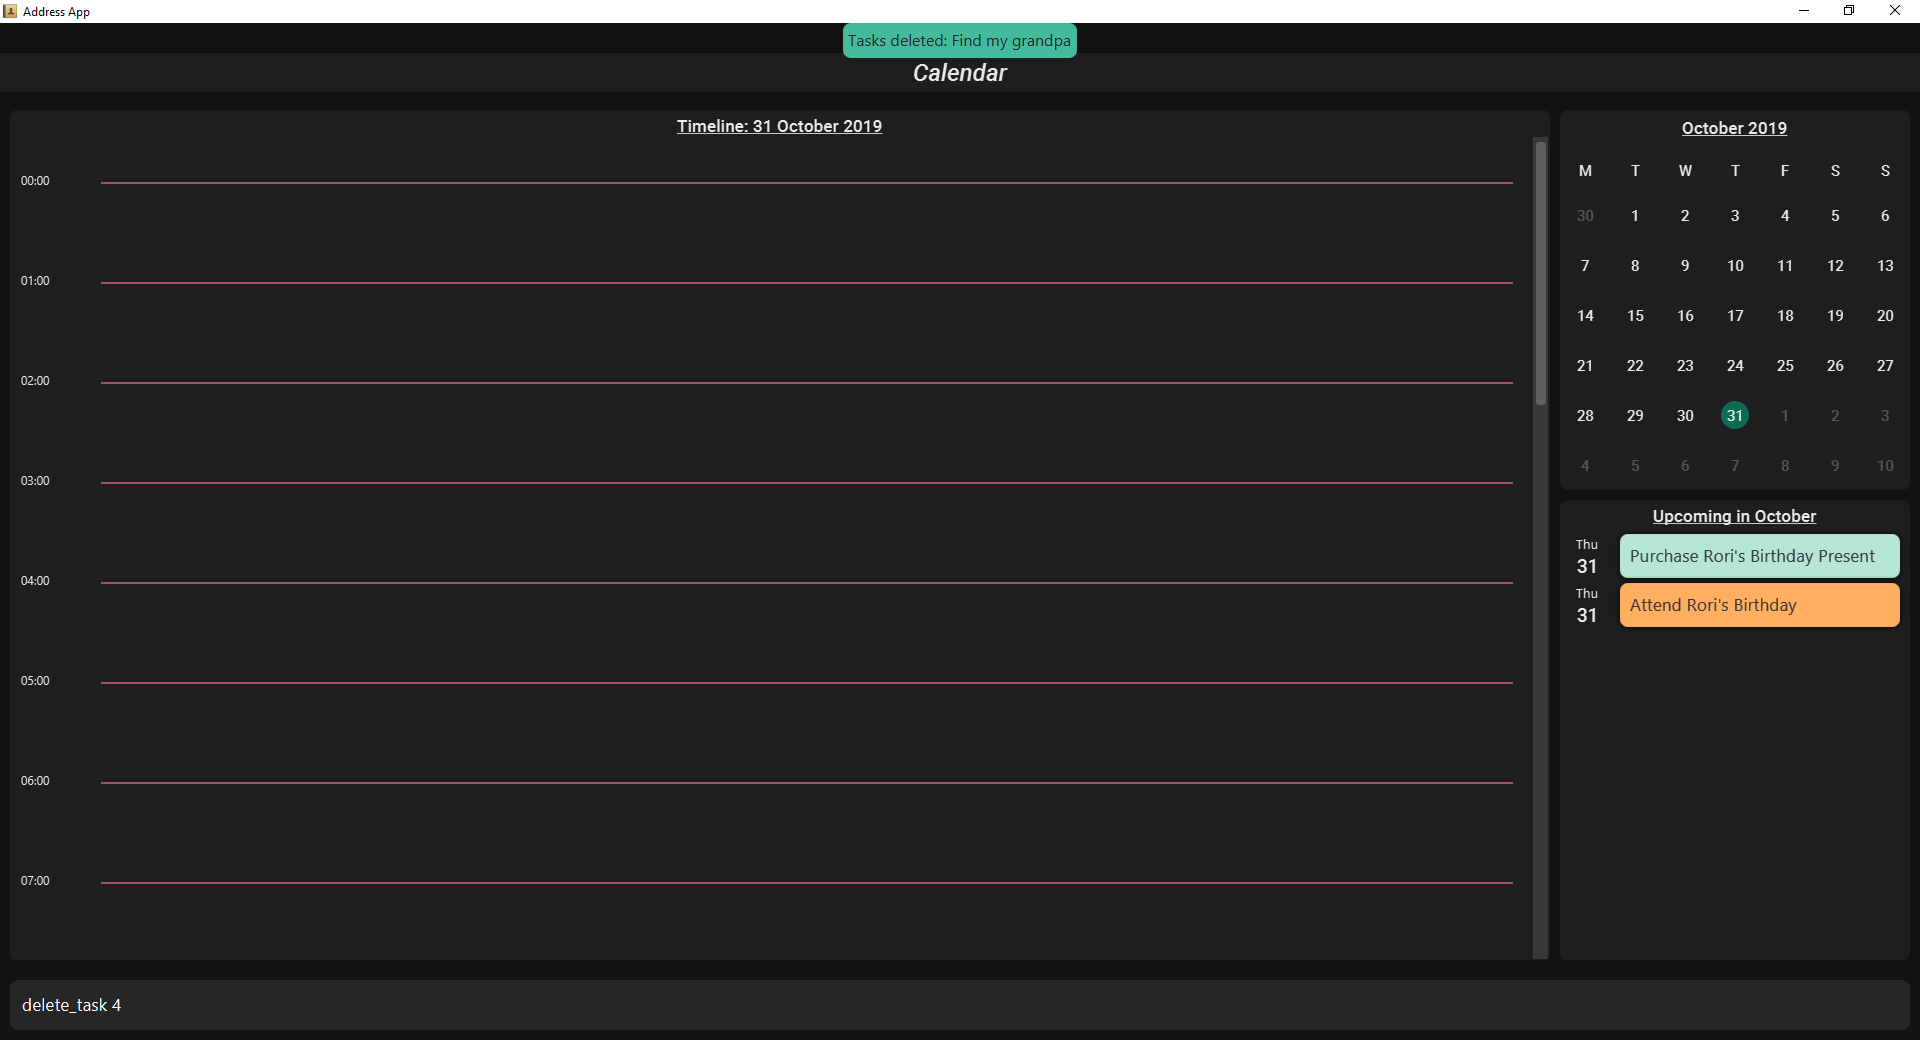
You may use the delete_task command to delete one or more tasks from the to-do list.
Command Format:
Command Parameters:
-
--tag TAG…
Examples:
-
delete_task 0 -
delete_task 0 1 2: Deletes tasks 0, 1 and 2. -
delete_task --tag Birthday: Deletes tasks tagged asBirthday. -
delete_task --tag Birthday Rori: Deletes tasks tagged asBirthdayandRori. -
delete_task 0 1 2 --tag Birthday Rori: Deletes tasks 0, 1 and 2 only if they have been tagged asBirthdayandRori.

Figure 8. Index found on the top right of the task.
|
3.2.6. Editing Tasks
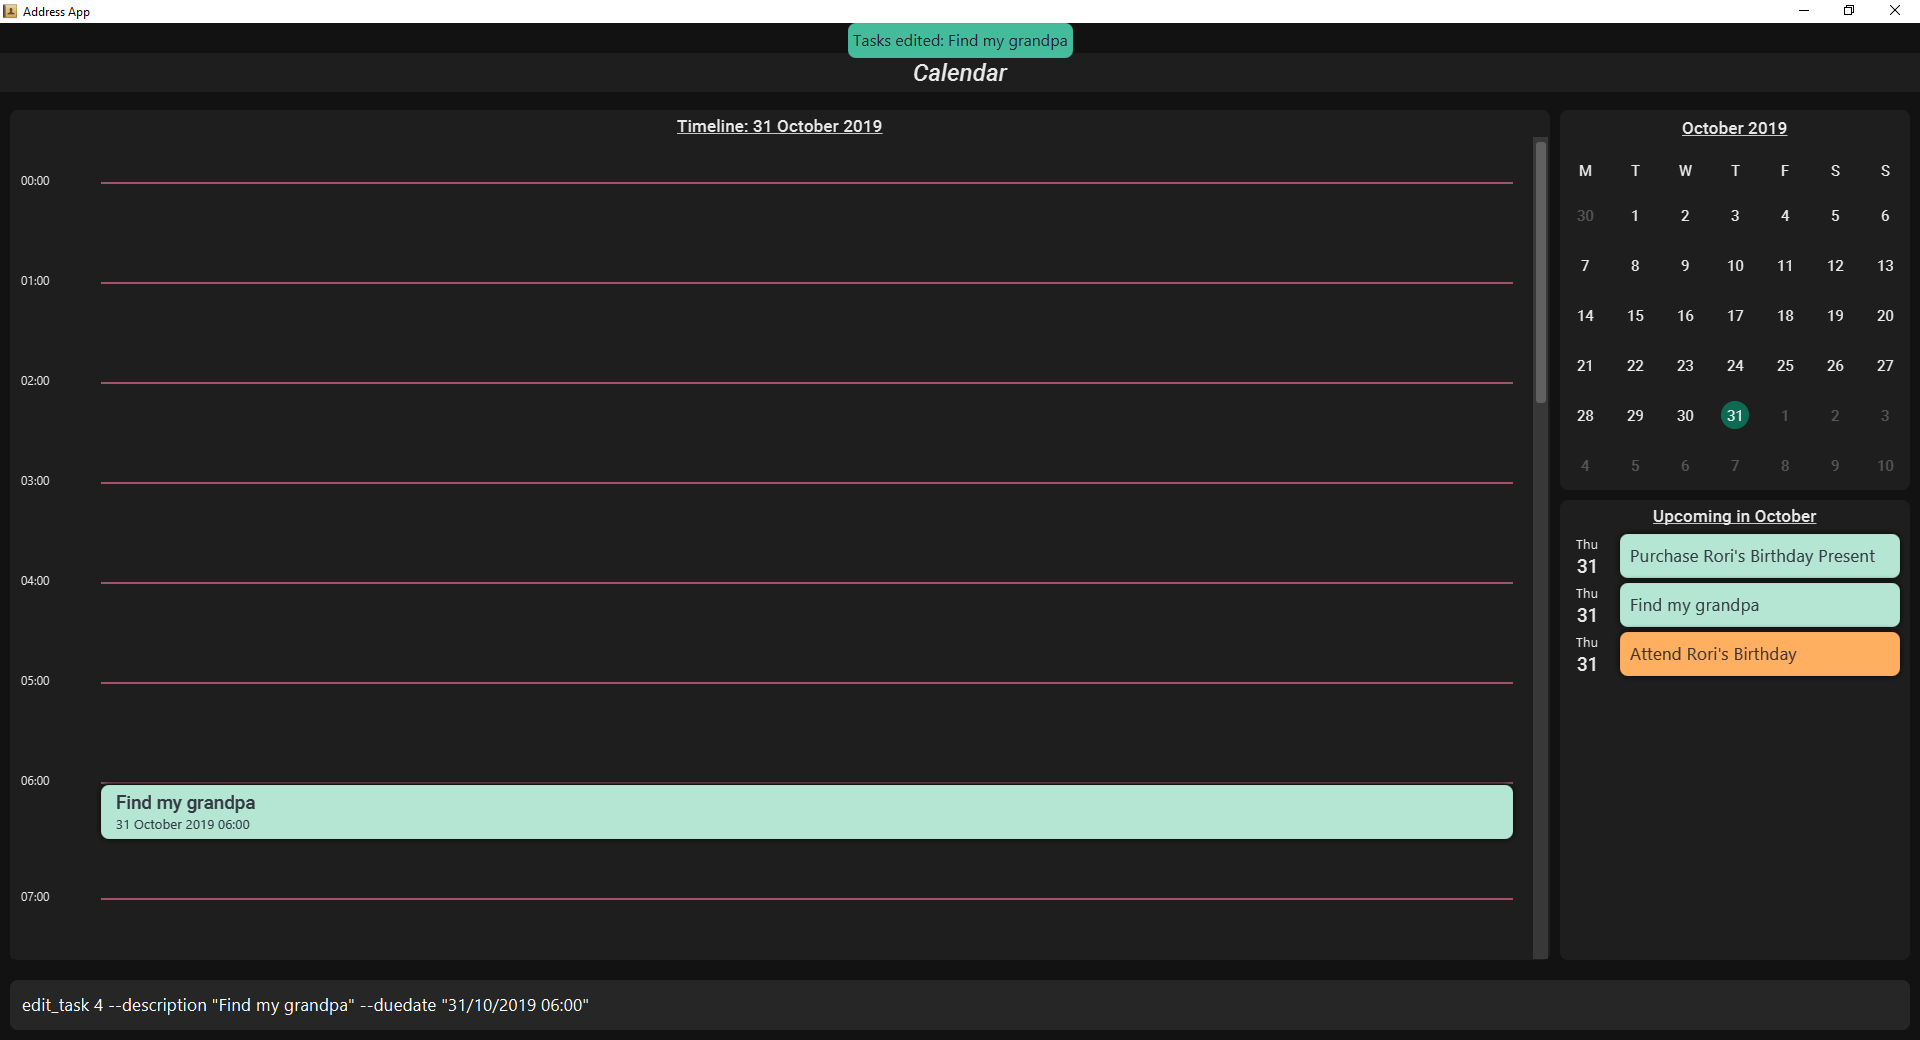
The edit_task command edits 1 or more existing events. Events should be specified by their index only.
Command Format:
Command Parameters:
-
--description DESCRIPTION -
--due DUE_DATE -
--tag TAG…
Argument Format:
-
DUE_DATE:"DD/MM/YYYY HH:MM"
Examples:
-
edit_task 0 1 2 --tag Present: Edits tasks 0, 1 and 2. -
edit_task 0 --description "Buy Rori a present" --due "17/08/2019 12:00" --tag Present
|
Specifying |
3.2.7. Making recurring Events: recur [coming in v2.0]
The recur command makes an Event show up repeatedly in the Calendar.
Command Format:
Command Parameters:
-
-f|--frequencyFREQUENCY
Examples:
-
recur 0 1 2 -f daily: This will make events 0, 1 and 2 recur daily on the calendar. -
recur 0 1 2 --frequency daily: This will make events 0, 1 and 2 recur daily on the calendar.
3.2.8. Finding Events and Tasks [coming in v2.0]
The find command returns Events or Tasks whose name or tag contains the specified keyword. If no optional arguments are specified, all items which name or tags contain the keyword will be returned.
Command Format:
Command Parameters:
-
--event KEYWORD -
--task KEYWORD -
--tag KEYWORD…
Examples:
-
find Birthday -
find --event Rori -
find --task Rori -
find --tag Birthday -
find --tag Birthday Pet
3.2.9. Completing Tasks [coming in v2.0]
The done command marks a Task as complete. Tasks may be specified by index, or by their associated tags.
Command Format:
Command Parameters:
-
--tag TAG…
Examples:
-
done 0 -
done 0 1 2 -
done --tag Birthday -
done 0 1 2 --tag Birthday
3.3. Tagging System [coming in v2.0]
The following commands are related to the tagging of Events and Tasks, which gives you finer control over editing your events and tasks.
3.3.1. Adding Tags to Events[coming in v2.0]
The tag_event command adds tags to the specified Events.
Command Format:
Command Parameters:
-
--tag TAG…
Examples:
-
tag_event 0 1 2 -
tag_event 0 1 2 --tag Birthday
3.3.2. Adding Tags to Tasks[coming in v2.0]
The tag_task command adds tags to the specified Tasks.
Command Format:
Command Parameters:
-
--tag TAG…
Examples:
-
tag_task 0 1 2 -
tag_task 0 1 2 --tag Birthday
3.3.3. Removing Tags from events [coming in v2.0]
The untag_event command removes tags from the specified Events.
Command Format:
Command Parameters:
-
--tag TAG…
Example:
-
untag_event 0 1 2 -
untag_event 0 1 2 --tag Birthdays
3.3.4. Removing Tags from Tasks [coming in v2.0]
The untag_task command removes tags from the specified Tasks.
Command Format:
Command Parameters:
-
--tag TAG…
Examples:
-
untag_task 0 1 2 -
untag_task 0 1 2 --tag Birthdays
3.4. UI
The following commands are related to the changing the display of the UI.
Take note that UI-related commands are not affected by the undo and redo commands (For more information, see Section 3.6, “Undo-Redo”).
3.4.1. Changing Screen View to Calendar View
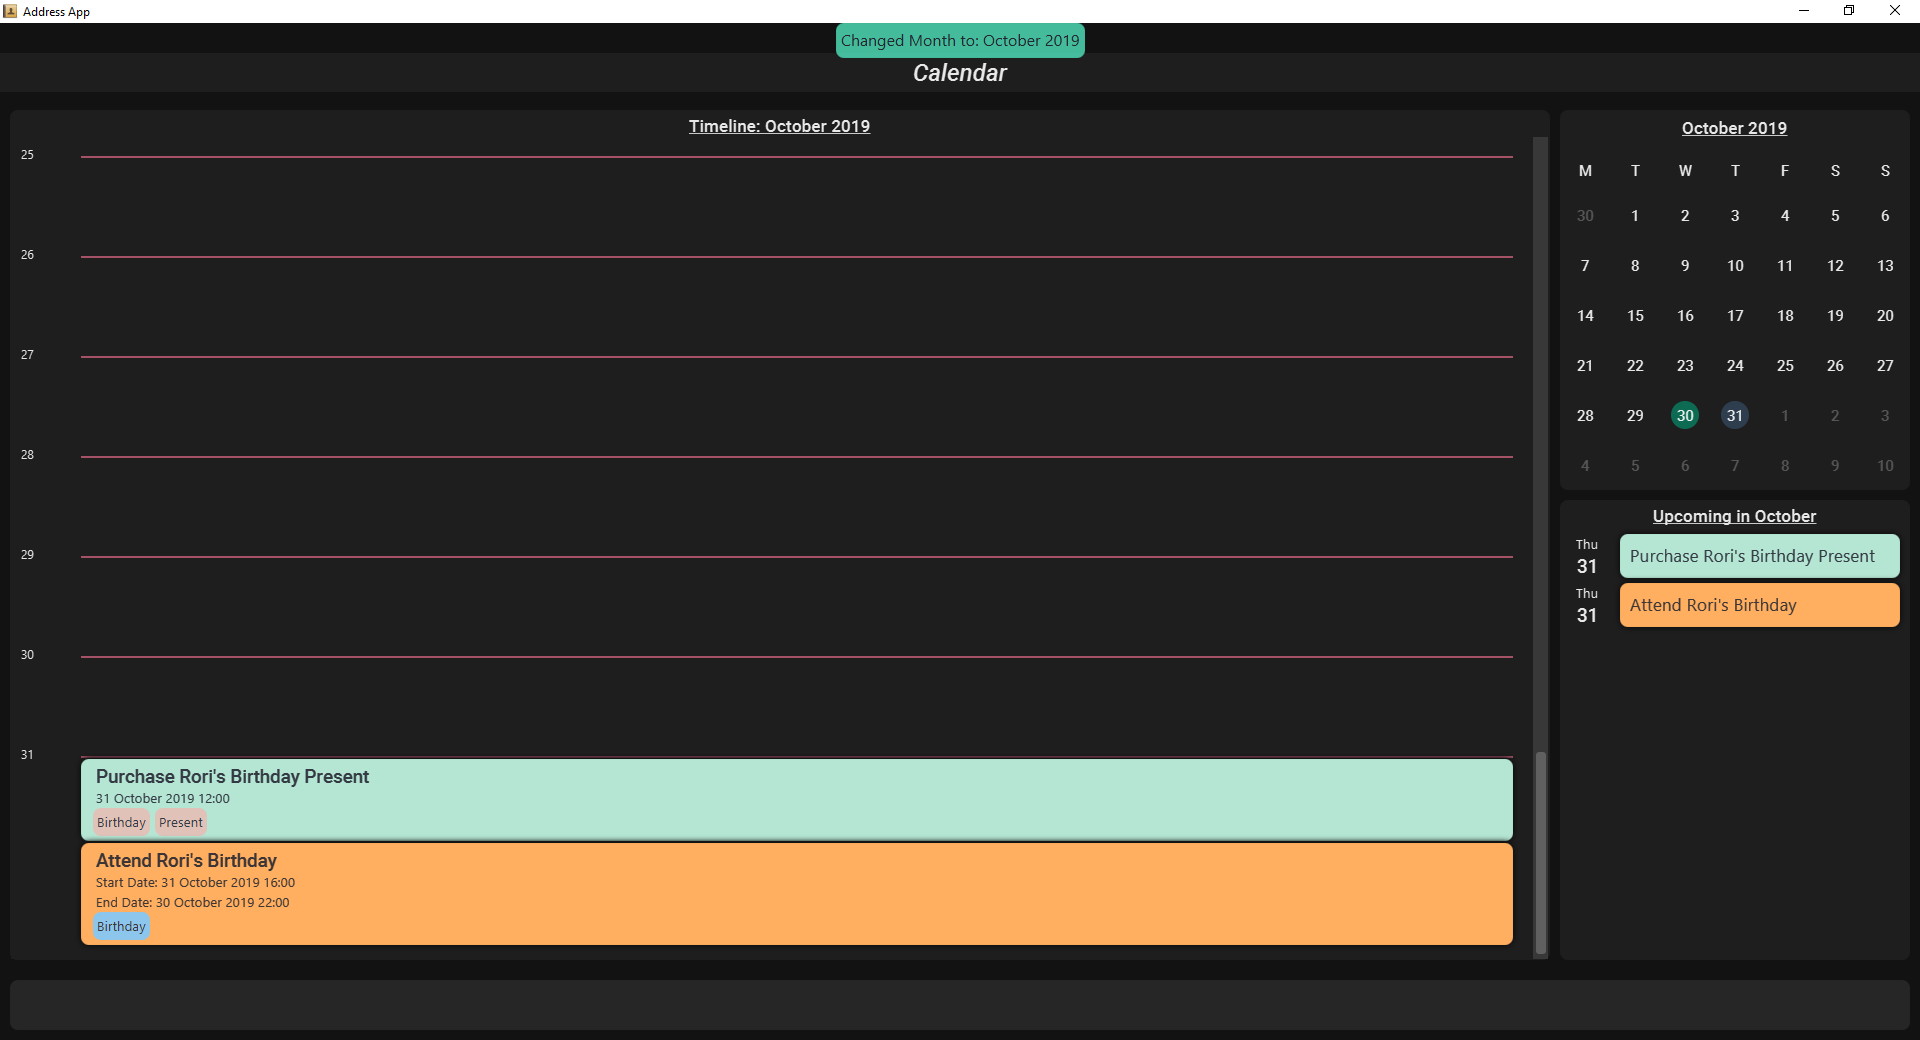
The calendar command switches the display to the Calendar View, which displays a calendar of the specified month and year in addition to a timeline of the specified day, week or month.
The Calendar View will display the specified date. If no date is specified, the last specified date will be displayed. This defaults to the current date.
Upon the initial launch of the application, the timeline and calendar dates will be set to the system’s current date.
Command Format:
calendar
Command Parameters:
--date MONTH_YEAR
Argument Format:
MONTH_YEAR : MM/YYYY
Example:
calendar : Switches back to calendar view without changing the date.
calendar --date 10/2019
3.4.2. Changing Timeline to a given day
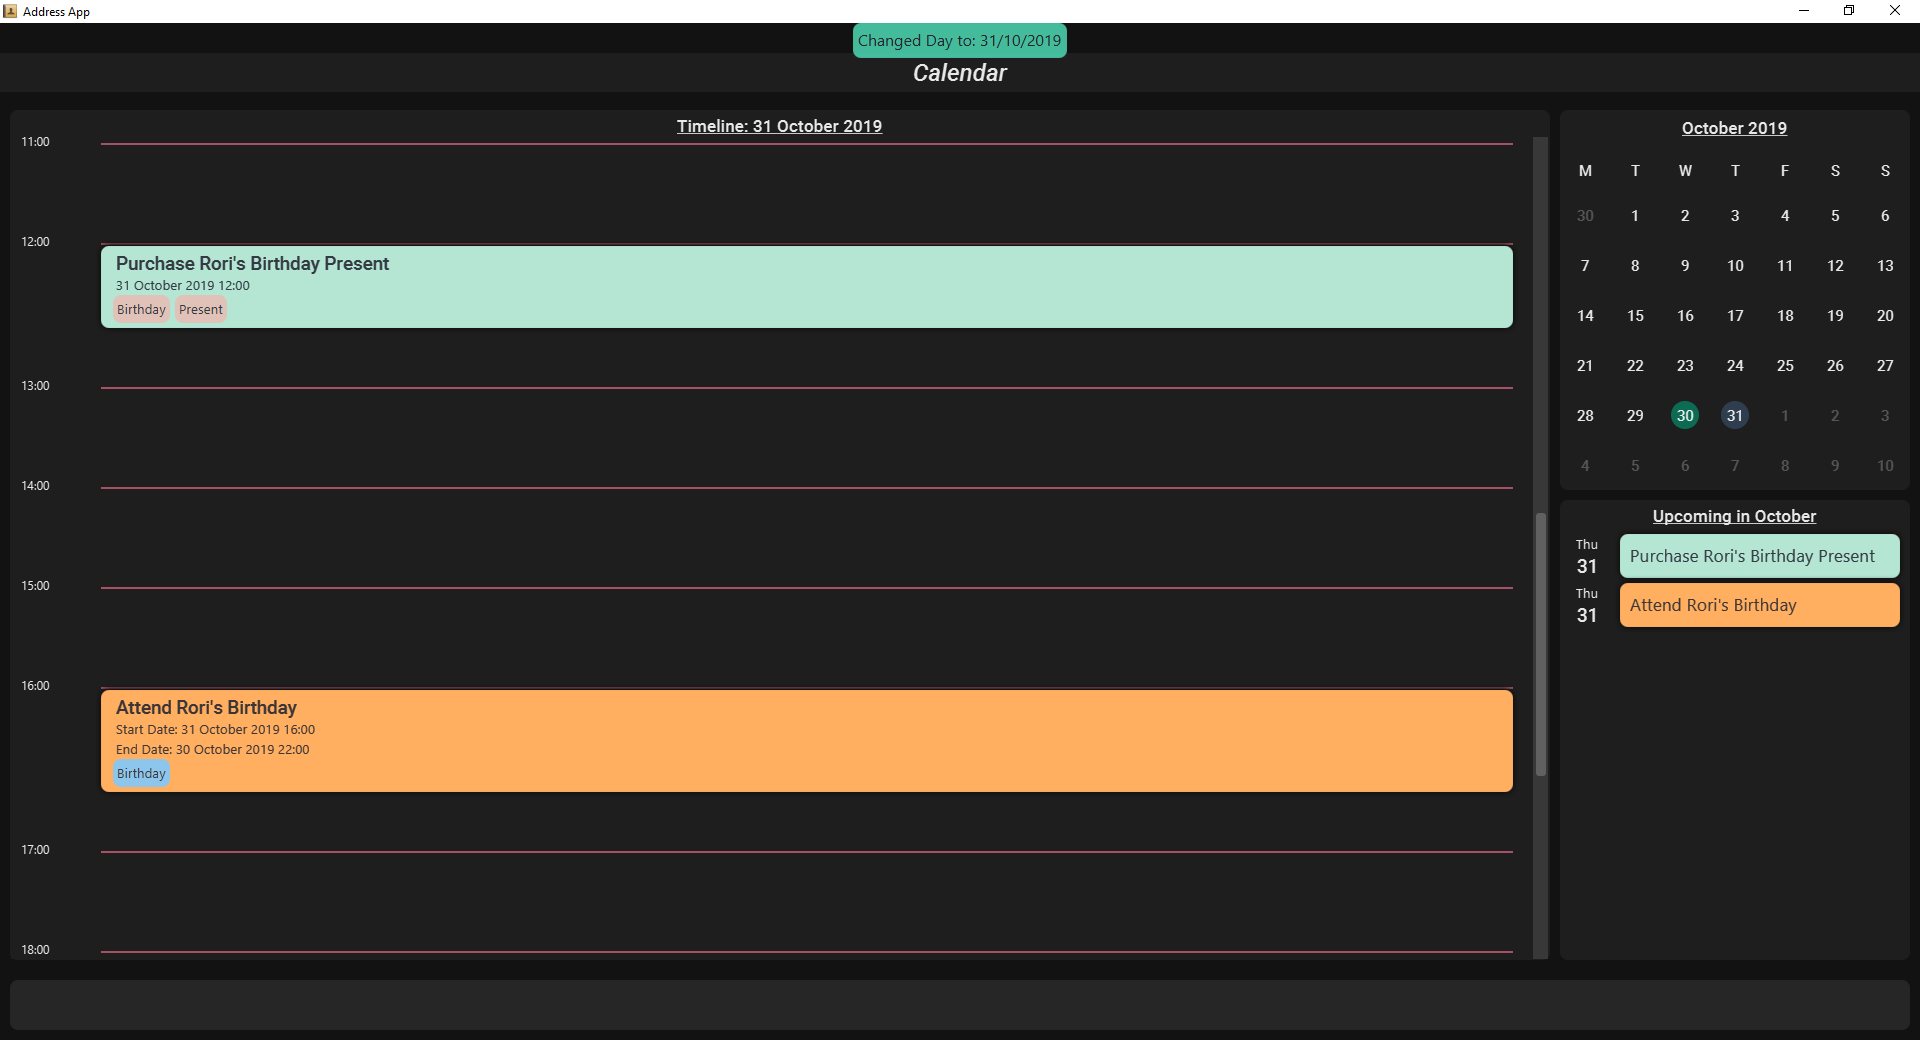
The day command sets the timeline in the Calendar View to that of the specified day. Furthermore, this command will switch the current view to Calendar View as well.
Command Format:
day DATE
Argument Format:
DATE : DD/MM/YYYY
Example:
day 11/10/2019
3.4.3. Changing Timeline to a given week
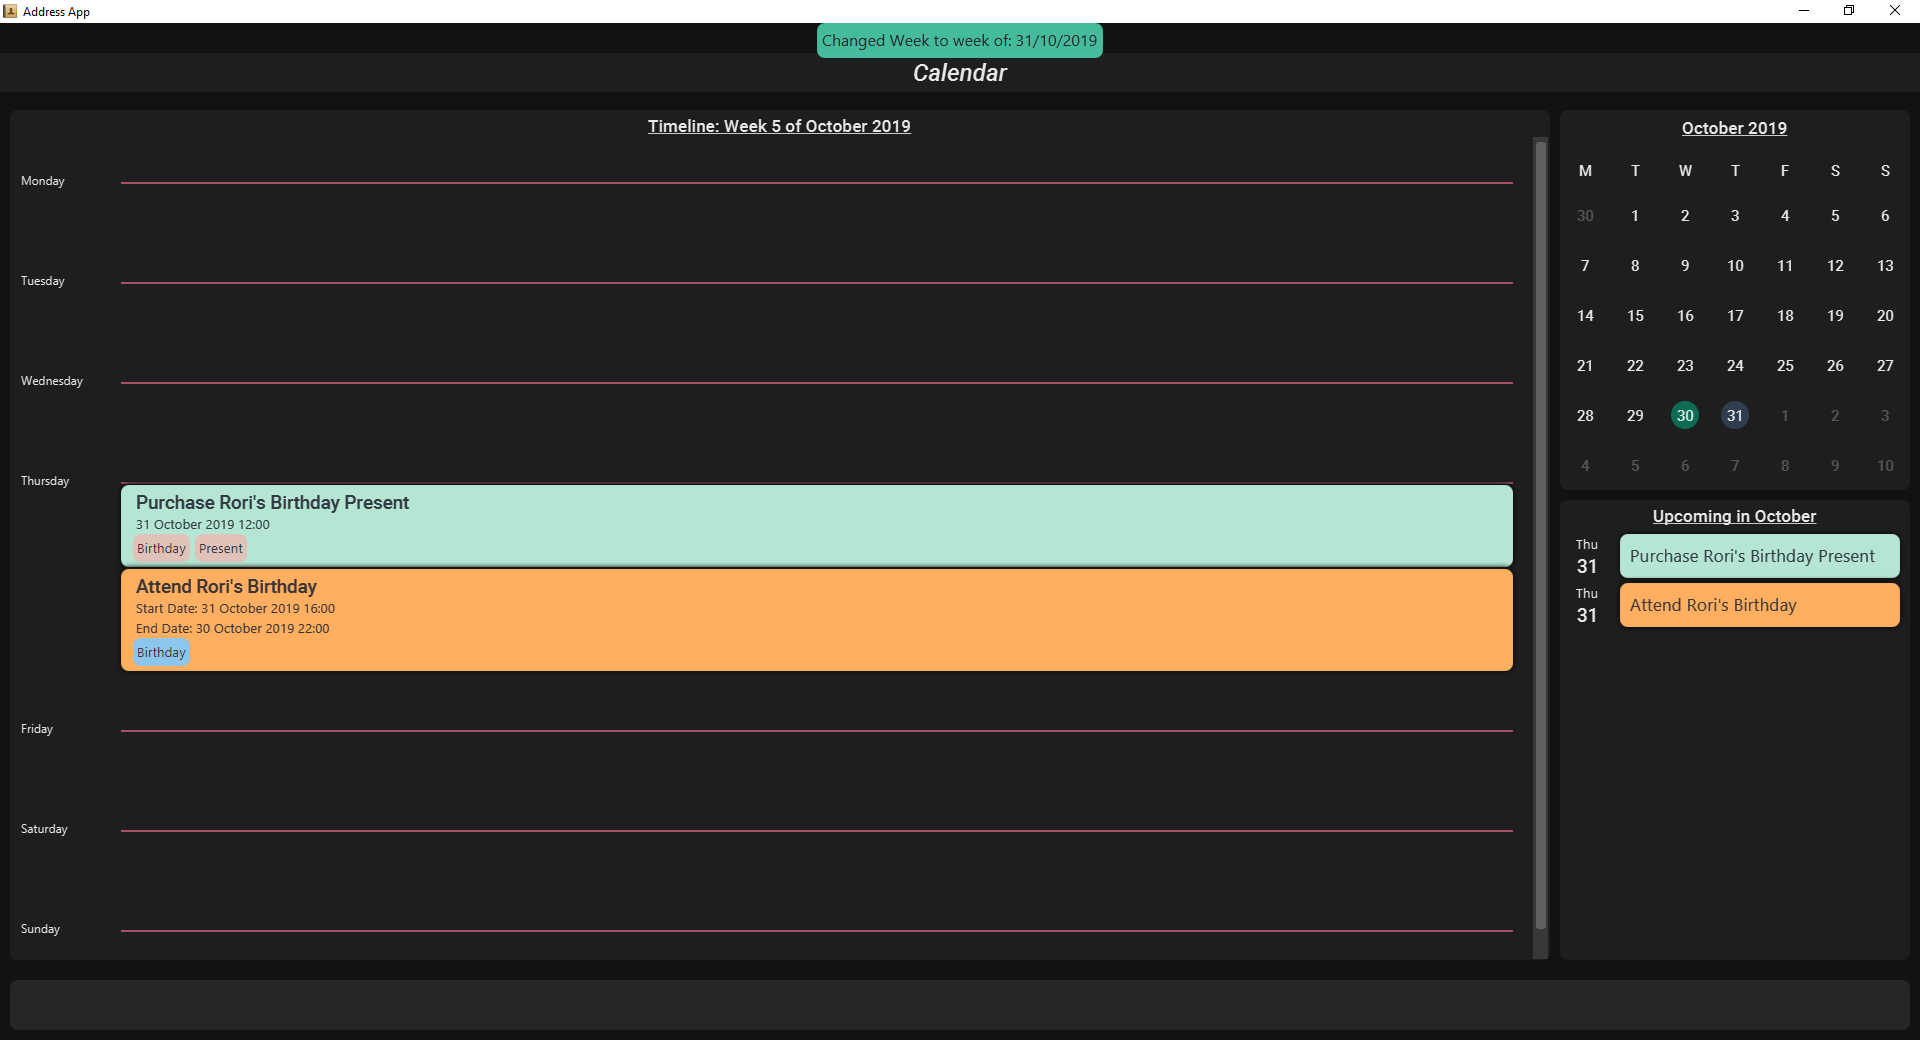
The week command sets the timeline in the Calendar View to the week of the specified day of the month, as well as switching the current view to Calendar View.
Command Format:
week DATE
Argument Format:
DATE : DD/MM/YYYY
Example:
week 01/11/2019
3.4.4. Changing Timeline to a given month
The month command sets the timeline in the Calendar view to that of the specified month and switches the current view to Calendar View.
Command Format:
month MONTH_YEAR
Argument Format:
MONTH_YEAR : MM/YYYY
Example:
month 11/2019
3.4.5. Changing Screen View to List View
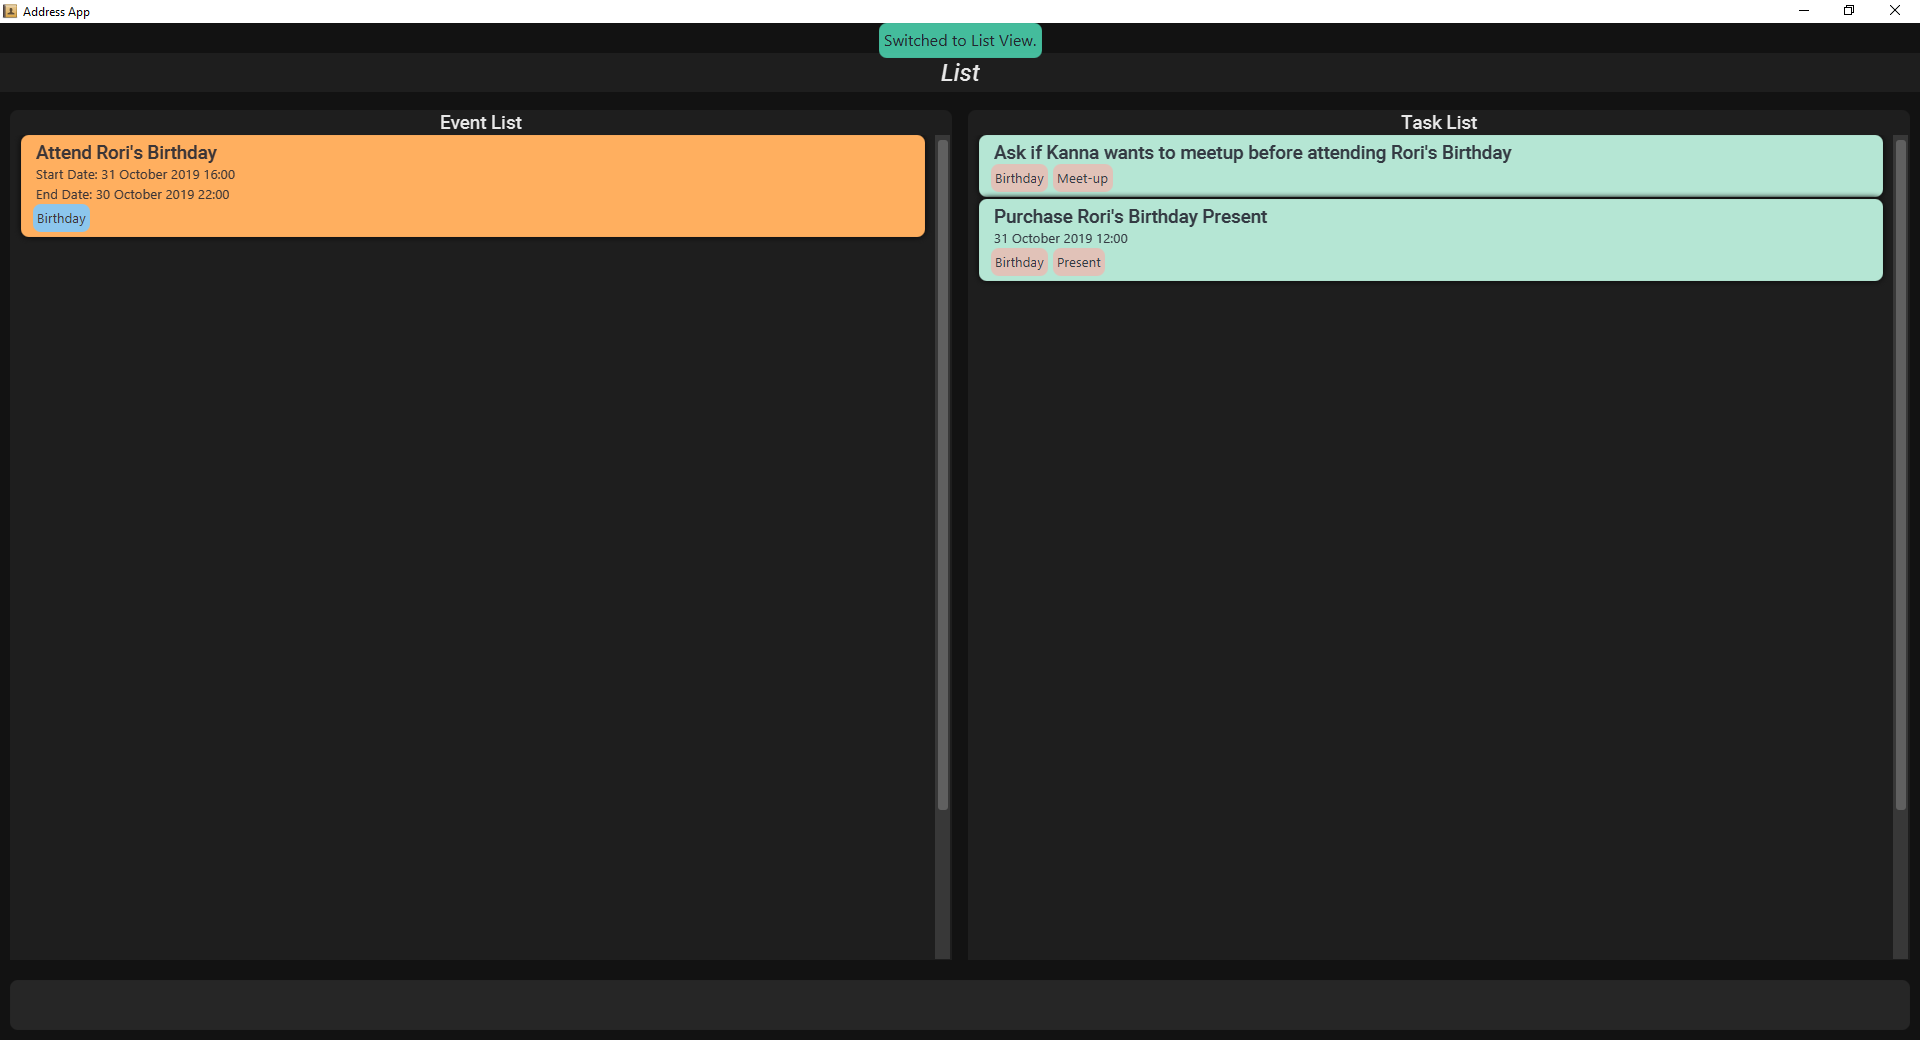
The list command will switch the display to the List View, which displays a list of upcoming events on the left, and a to-do list of tasks on the right side.
Command Format and Example:
list
3.4.6. Changing Screen View to Log View

The log command switches the display to the Log View, which displays a catalogue of all past responses to input commands.
Command Format and Example:
log
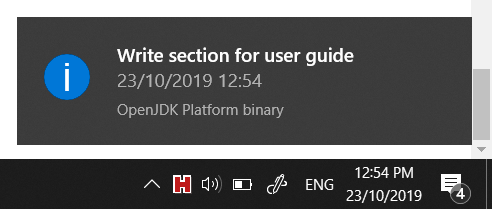
3.5. Notification System
Horo will post notifications to your system tray to remind you that an event is starting or that a task is due.
Take note that Horo can only post reminders as long as the application is open. To tell if Horo is running, check that the appropriate icon appears in the system tray
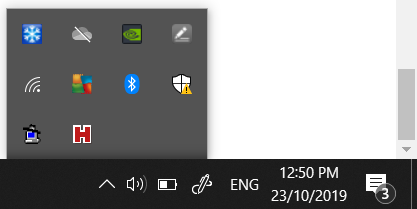
Also take note that notifications are switched on by default upon launch. This status is not carried over between sessions. If you would like to switch notifications off, you would have to do so whenever you start Horo up.
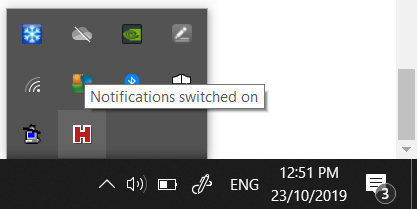
You can tell if notifications are switched on by mousing over the icon in the system tray.
3.5.1. Notification Popups
When Horo posts a notification, it should appear at the bottom-right side of the screen, where the system tray should be.
Take note that that following commands are UI-related commands, and are thus unaffected by the undo and redo commands (For more information, see Section 3.6, “Undo-Redo”).
3.5.2. Switch notifications on
The notif_on command switches notifications on.
Command Format:
notif_on
-
If you would like to switch notifications on, type the command
notif_oninto the command box and press Enter to execute it.
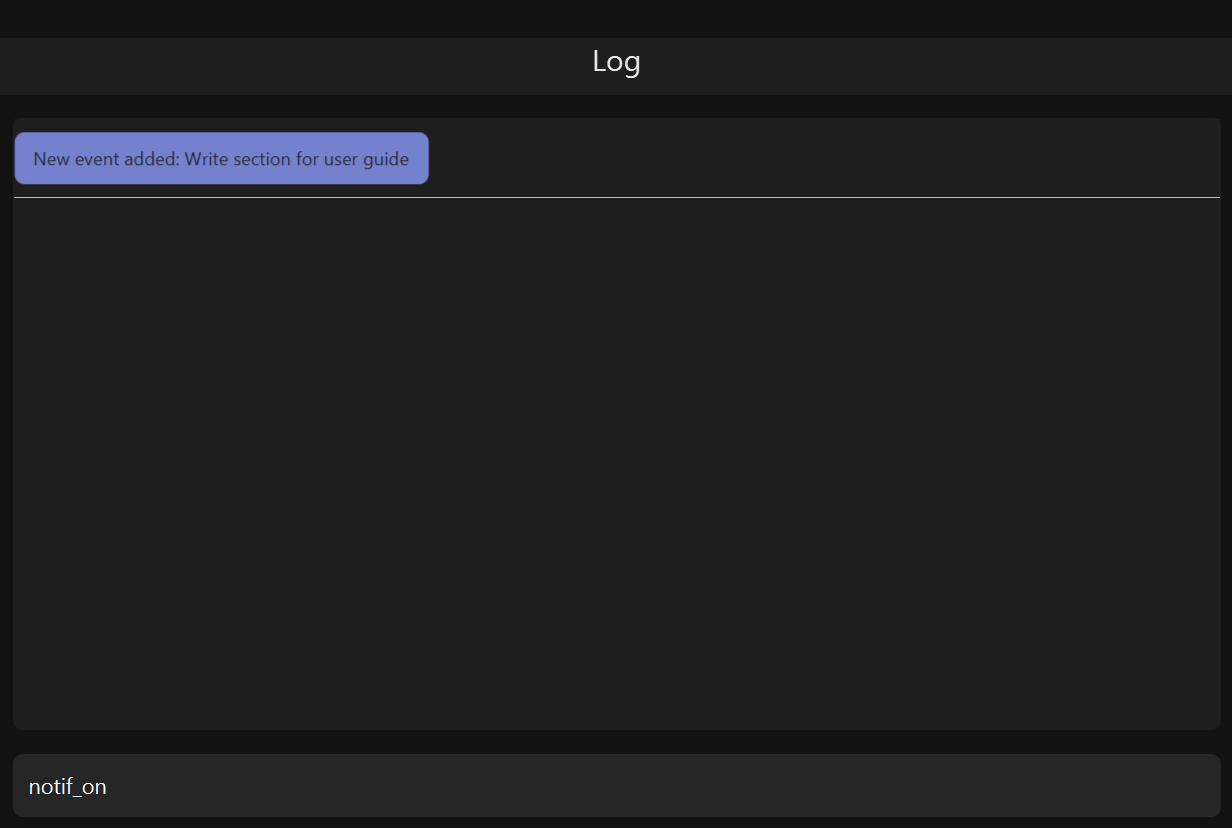
notif_on command in the Command Box
2. An in-app popup should appear, displaying "Notifications switched on". The log view should also record this action.
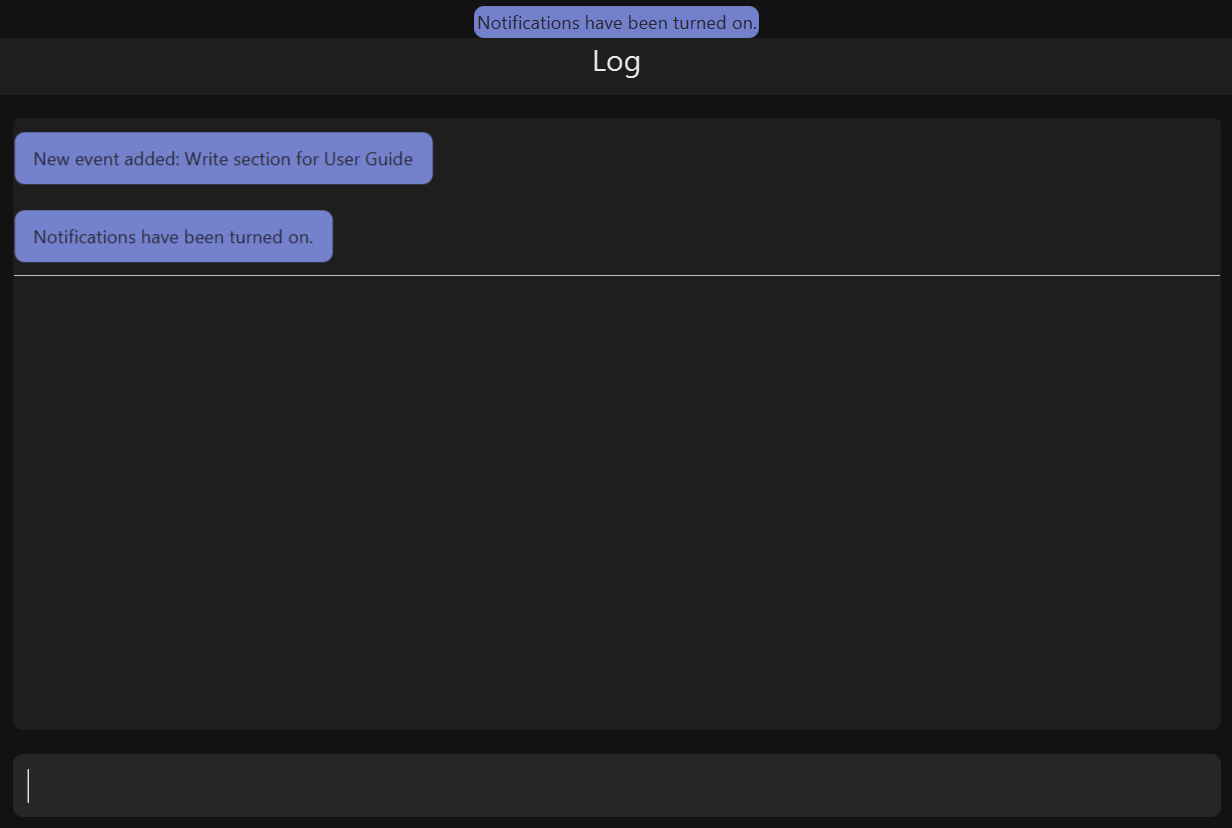
notif_on command3.5.3. Switch notifications off
The notif_off command switches notifications off.
Command Format:
notif_off
-
If you would like to switch notifications off, type the command
notif_offinto the command box and press Enter to execute it.
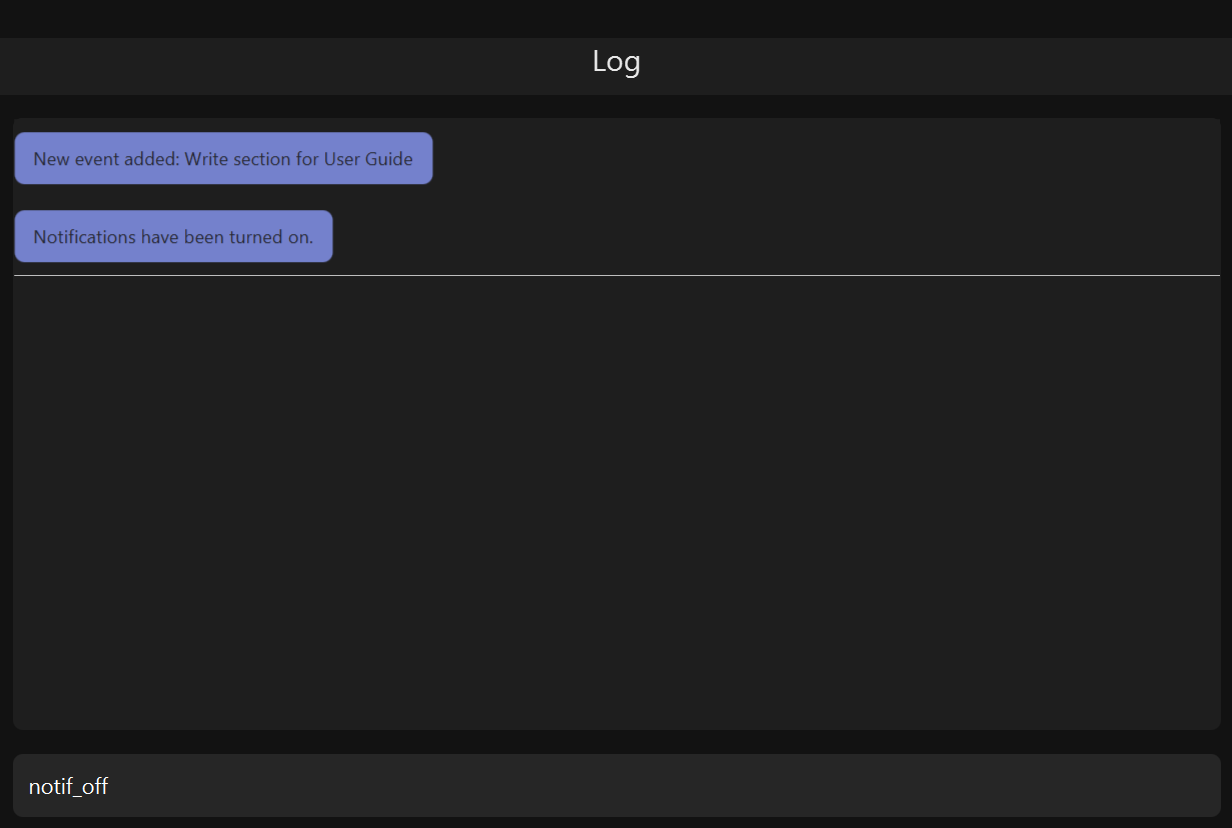
notif_off command in the Command Box
2. An in-app popup should appear, displaying "Notifications switched off". The log view should also record this action.
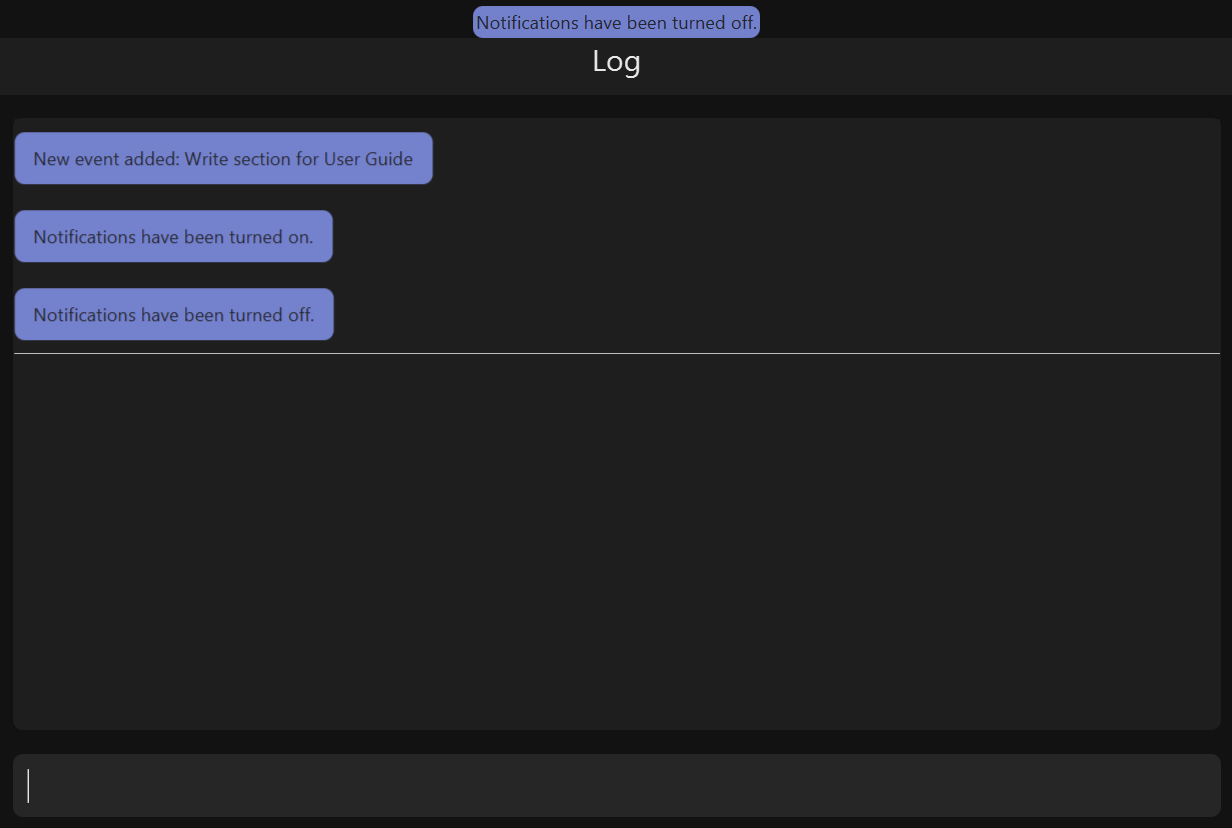
notif_off command3.6. Undo-Redo
The following commands allow you to undo and redo previously input commands.
The below commands will only affect state-changing, and not UI-related commands. The commands that will be affected are as follows:
-
add_event
-
delete_event
-
edit_event
-
add_task
-
delete_task
-
edit_task
-
import
-
export
3.6.1. Undo
The undo command undoes the previous command.
Commands can be undone up to the program’s launch.
Command Format:
undo
Example:
Suppose that you have deleted the wrong task from Horo. Rather than having to type the add_task command
along with the description of the deleted task (to add back the wrongly deleted task), you can simply type in undo,
which will revert Horo to the state before the deletion of the wrong task was executed.
This means Horo is now restored to its desired state, as if you did not commit the deletion mistake at all! You can now proceed to delete the right task.
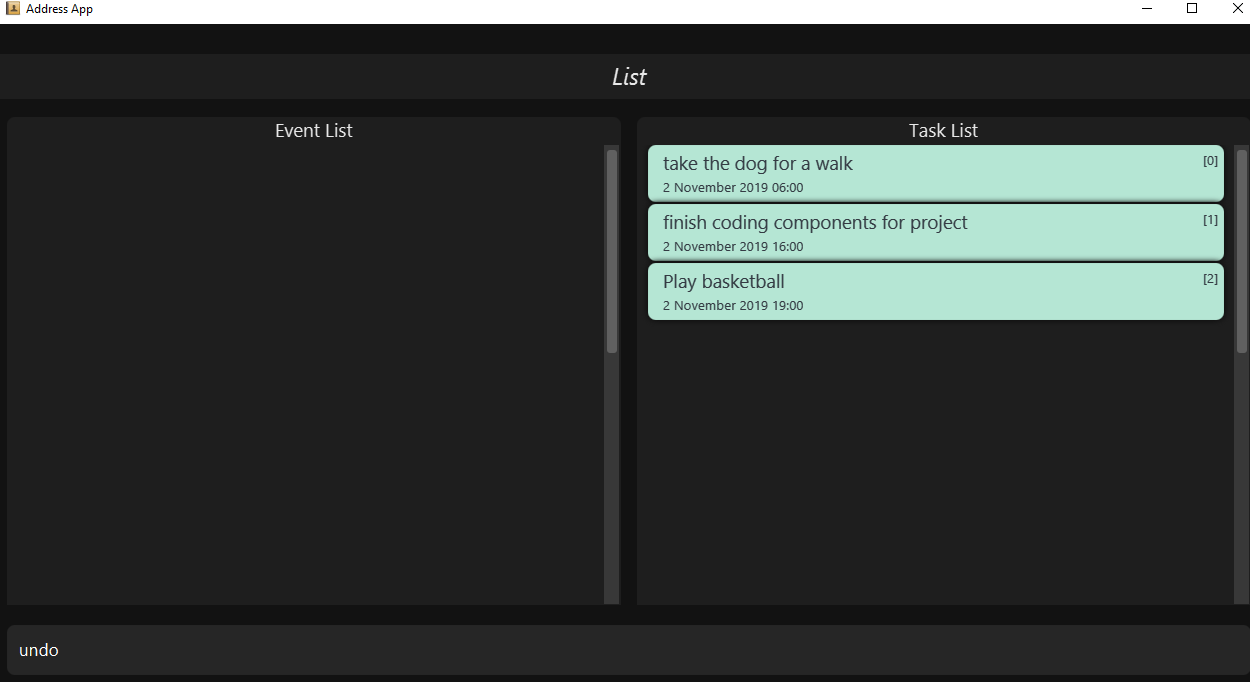
Illustration: Suppose that we wanted to delete task 2 in the list, but deleted task 3 instead. (Horo also has a list view on top of the calendar view; I will illustrate the feature with with the list view)
To undo:
-
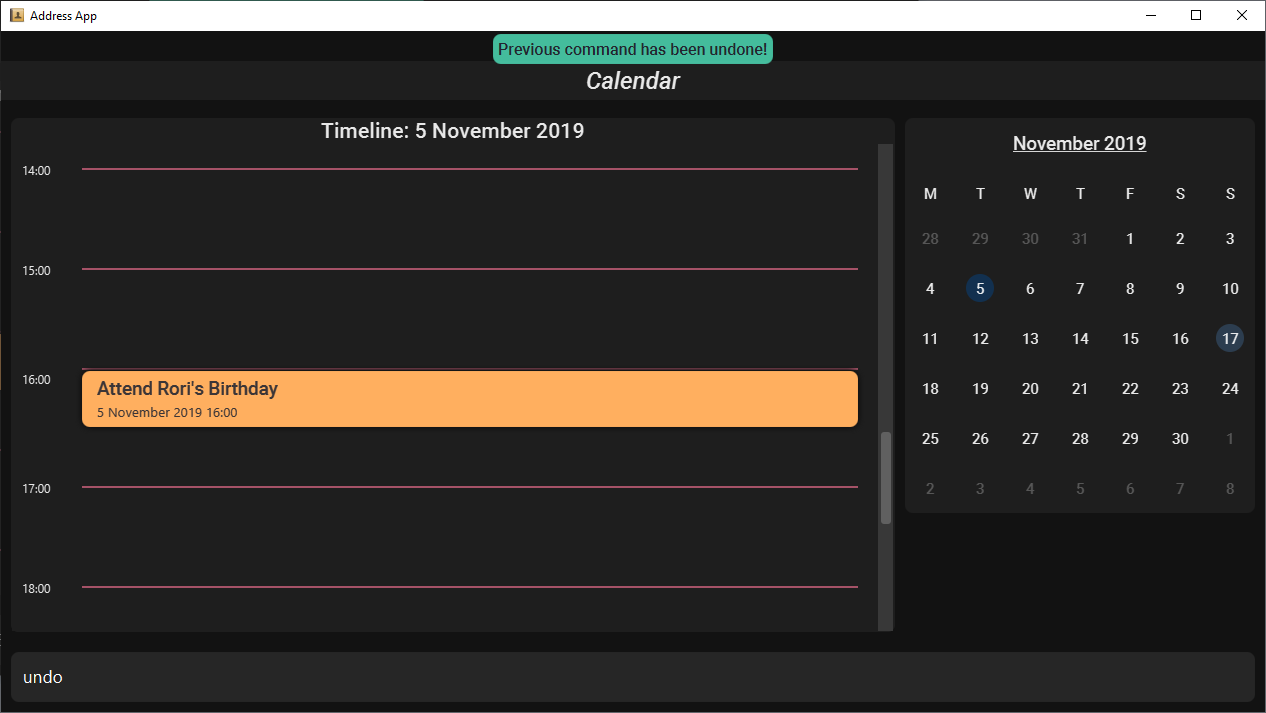
Type undo in the command box, and press the Enter key to execute it.
undo command in the Command Box
2. The result box will display the message: "Previous command has been undone!"

undo command
3. You can see that the wrongly deleted task (task 3) is visible in the list once again.
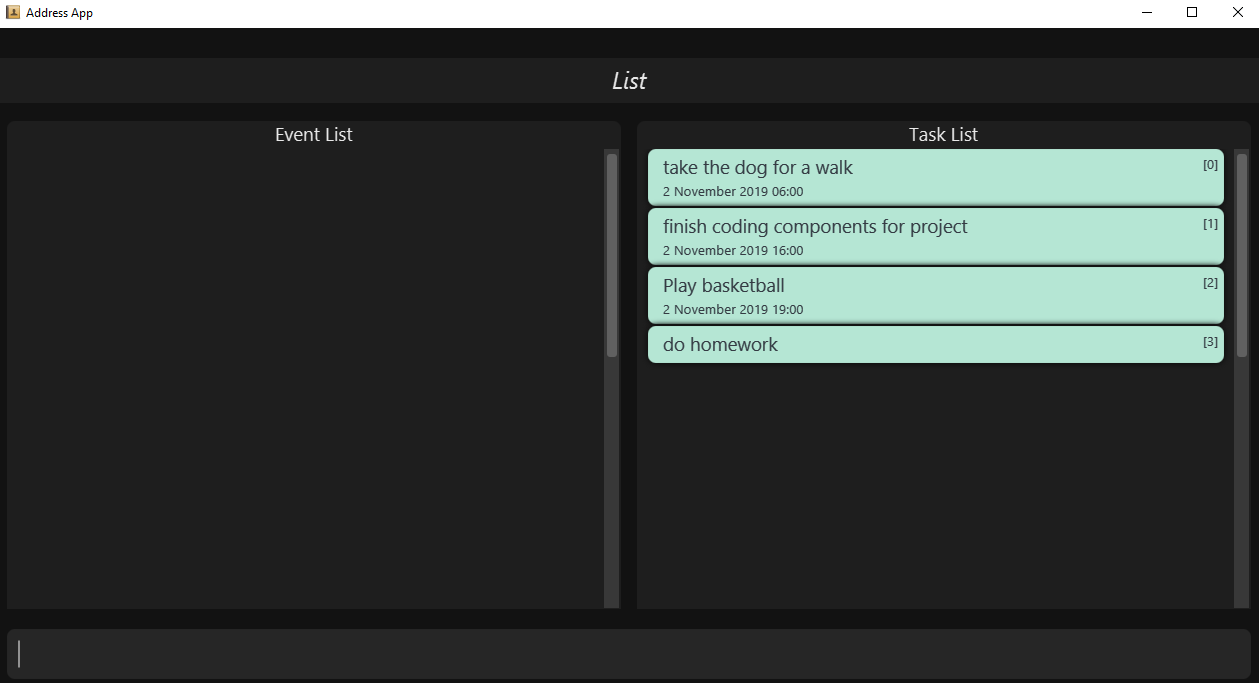
undo command
The undo command undoes previous commands in reverse chronological order.Suppose that you have executed the following commands in this order: 1. Adding a task 2. Editing a task Now, if you execute the undo command, you will first revert Horo to the state before a task was edited.
Then, if you execute undo again, you will revert Horo to the state before a task was added.The undo command only works on state-changing commands.State-changing commands are those that manipulate task and event data stored in Horo. Examples include add_task, delete_task and edit_task.
Undo commands only work on these types of commands because there is an actual change in the state of Horo that can be undone.On the other hand, non-state-changing commands include find and help. These commands are only concerned with producing
user output for the user in the GUI, but do not modify any of the data stored in Horo. As such, these types of commands
are ignored by the undo operation since there is nothing to undo.As such, if we first add a task to Horo, then we call the help command, calling undo will ignore the help command and proceed
to revert Horo to before a task was added.The undo command only executes if there are previous states to revert back to.If no command has been previously executed, or if Horo has already been reverted to the earliest possible state by multiple undos,
then calling undo further will amount to no effect.
|
3.6.2. Redo
The redo command redoes a previously undone command.
The redo command is able to redo any undone commands that have not been succeeded by a separate state-changing command
(e.g. add_event, delete_event, edit).
If you had executed any state-changing command (except for undo or redo) just after undoing the add_event command,
calling redo will then amount to no effect.
If you’ve ever used another application with undo-redo functionality, just imagine that Horo’s undo-redo functions are as intuitive as theirs.
Command Format:
redo
Illustration:
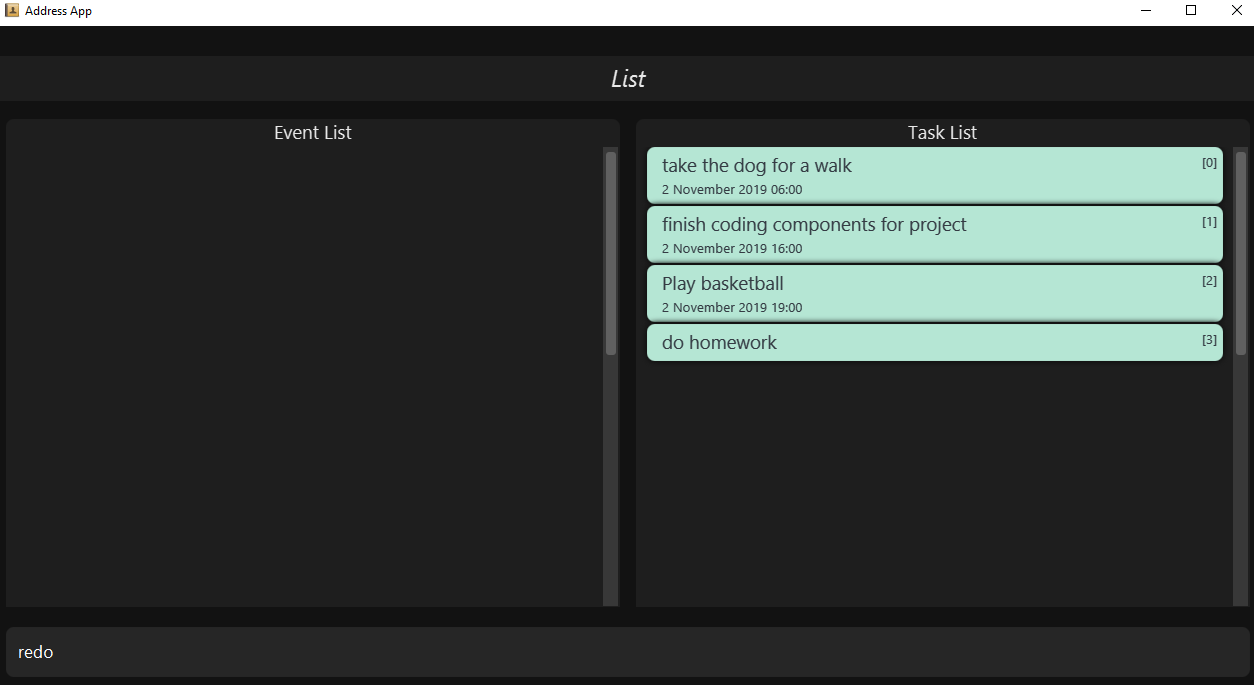
Suppose that you wrongly deleted task 3 from the list, but actually wanted to delete task 2 instead.
As a result, you type in the undo command, and Horo is restored to the previous state where task 3 still exists.
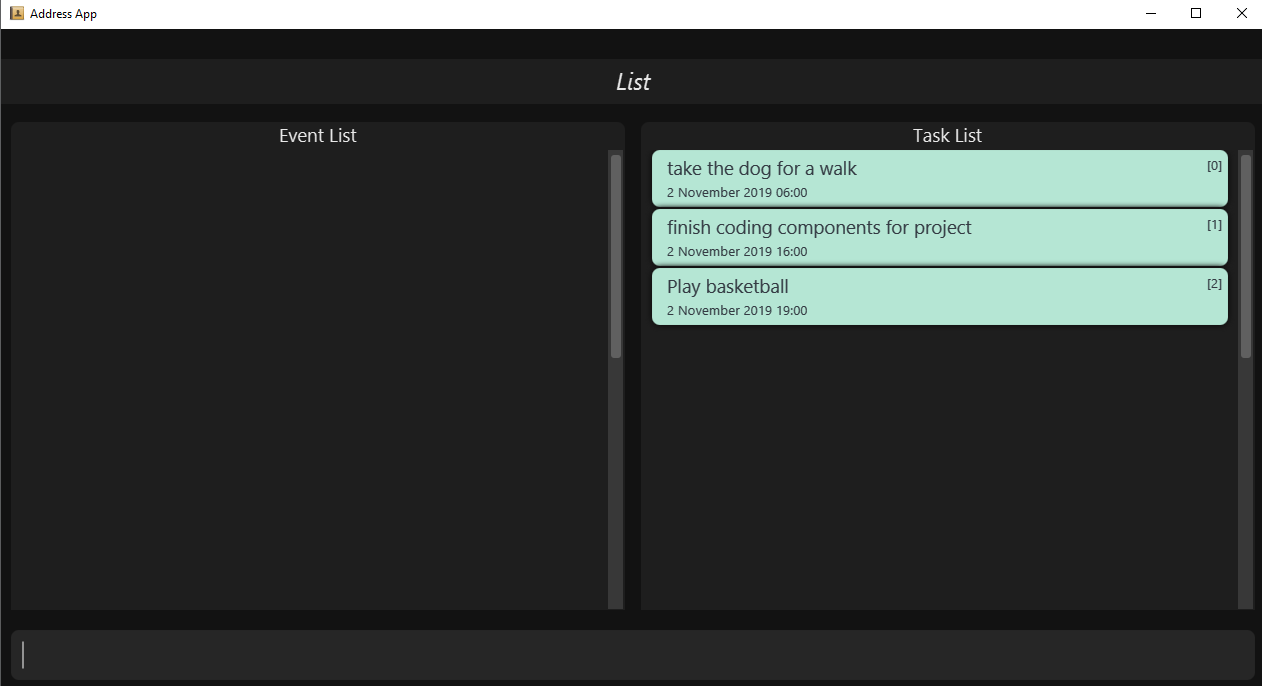
However, now you decide that you want to remove task 3 from the list after all. Without having to key in the delete_task command,
you can simply type in redo and the most recent command that was undone (the deletion of task 3) will be re-executed.
This results in a list where task 3 is deleted.
To redo:
-
Type redo in the command box, and press the Enter key to execute it.
redo command in the Command Box
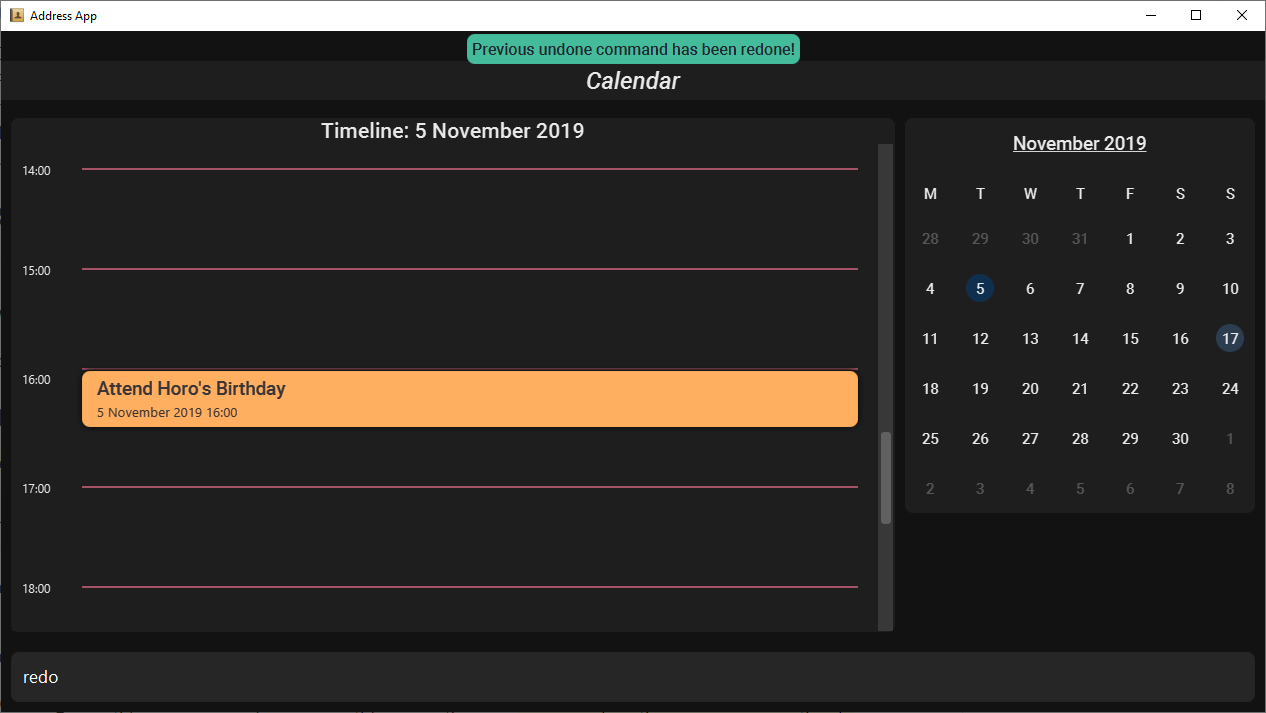
2. The result box will display the message "Previous undone command has been redone!"

redo command
3. You can see that task 3 has been removed from the list.
redo command
The redo command redoes previously undone commands in reverse chronological order.Suppose that you have executed the following commands in this order: 1. Adding a task 2. Editing a task As discussed in Undoing a previous command, if we run undo twice, we will revert Horo to before a task was edited,
and then revert Horo to before a task was added.Our sequence of undo commands are in this order:1. Undo editing of a task 2. Undo adding of a task Now, if we run the redo command, Horo will be restored to the state after the task was added. If we execute redo again,
Horo will be restored to the state after the task was edited.The redo command only executes if the most recent state-changing command(s) are undo commands.If no undo command has been executed since the starting up of Horo, or undo commands have been executed
but other state-changing commands were executed after those undos, then executing the redo command amounts to no effect.For example, let’s say I deleted a task from the list, undid that deletion, and then added another task to the list. Executing the redo command here will not do anything because add_task was executed after the undo.
|
3.7. iCalendar (ICS) Integration
Horo stores data in the ICS format. Files saved in this format have the extension .ics.
This allows for data to be imported from and exported to other calendar applications that also use the .ics format.
This means you can export and import your calendar events and todo items straight from Google Calendar into Horo, and vice versa! It also means that you can export and import your save data between different machines running Horo.
3.7.1. Export Current Data
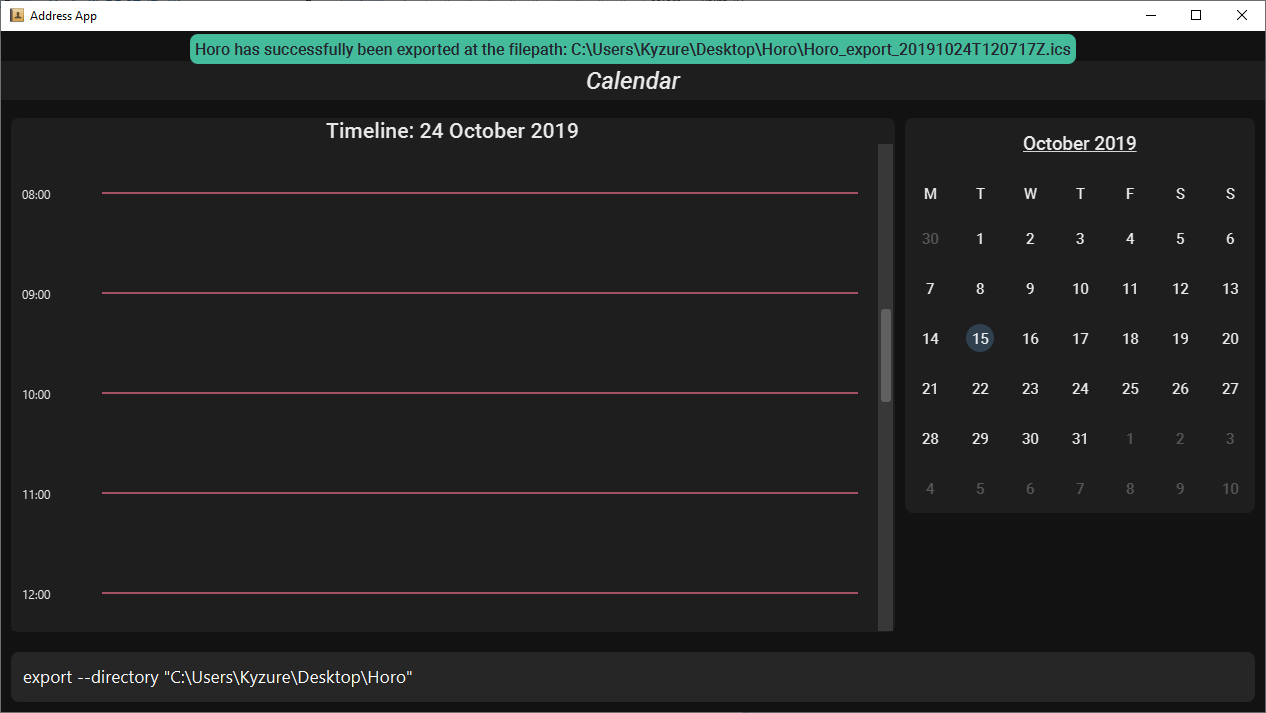
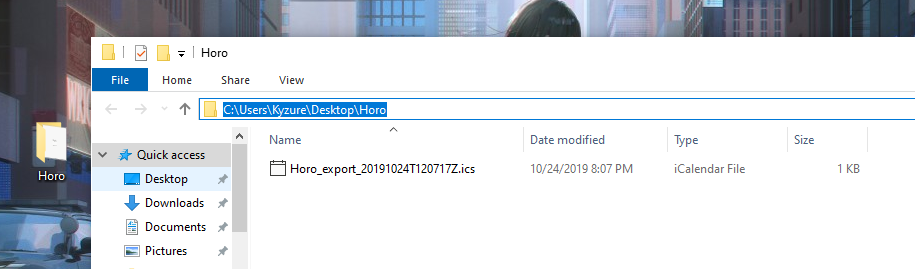
The export command exports your current calendar as an ICS file to the specified directory.
If no directory is specified, the file will be created in the same directory as Horo.
If you want to export the ICS file to a certain directory like your desktop,
all you have to do is specify it with the --directory parameter.
Command Format:
export
export --directory DIRECTORY
Example:
export --directory "C:\Users\USER_NAME\Desktop\Horo"
3.7.2. Import other ICS Data
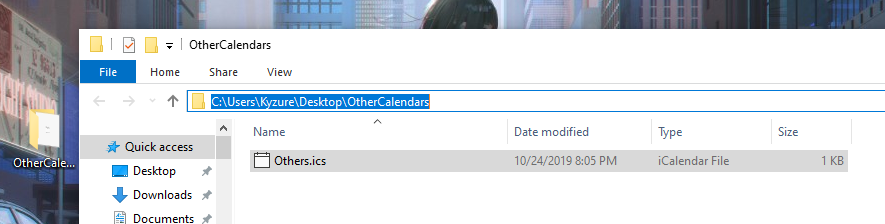

The import command imports an ICS file from the specified filepath.
Command Format:
import FILEPATH
Example:
import "C:\Users\USER_NAME\Desktop\OtherCalendars\Others.ics"
4. FAQ
Q: How do I transfer my data to another Computer?
A: Install the app on the other computer and overwrite the empty data file it creates with Horo’s save file.
5. Command Summary
-
Help :
help -
Adding an Event :
add_event DESCRIPTION START_DATE --end END_DATE --remind REMIND_DATE --tag TAG… -
Deleting Events :
delete_event INDEX… --tag TAG… -
Editing Events :
edit_event INDEX… --description DESCRIPTION --start START_DATE --end END_DATE --remind REMIND_DATE --tag TAG… -
Adding a Task :
add_task DESCRIPTION --due DUE_DATE --tag TAG… -
Deleting Tasks :
delete_task INDEX… --tag TAG… -
Editing Tasks :
edit_task INDEX… --description DESCRIPTION --due DUE_DATE --tag TAG… -
Adding a Tag :
tag INDEX… --tag TAG… -
Removing a Tag :
remove_tag INDEX… --tag TAG… -
Find :
find KEYWORD… --tag TAG -
Calendar View :
calendar --date MONTH_YEAR -
Day View for Timeline :
day DATE -
Week View for Timeline :
week DATE -
Month View for Timeline :
month MONTH_YEAR -
List View :
list -
Log View :
log -
Undo :
undo -
Redo :
redo -
Switch notifications on :
notif_on -
Switch notifications off :
notif_off -
Export .ics File :
export --directory DIRECTORY -
Import .ics File :
import FILE_PATH -
Exiting the Program :
exit